Choosing the correct media for a window decal application is the first step to creating a graphic that your customers (and their customers) will love and buzz about. Clear adhesive overlaminates are a popular choice for window graphics because they can be inexpensive and easy to install – just make sure the film is printable. HP Gloss Polymeric Overlaminate and HP Matte Polymeric Overlaminate are perfect for window graphic applications. Each features a 140g DSPE lay-flat liner and performs exceptionally well for printable applications as well as an overlaminate.
Popular window graphic applications
- Indoor and outdoor signage
- Special effects
- Privacy
- Decor
- Promotional decals
- Brand building
- Overlaminate solutions
Keep reading for helpful tips and tricks on how to apply install window graphics like a professional.
Clean the Area Where the Graphic Will Be Applied

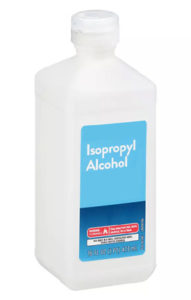
Certain cleaning solutions have chemical agents that can cause the adhesive to not bond to the window surface. Once clean, be sure to wait until the surface is entirely dry. Using an IPA (isopropyl alcohol)/water mixture (50% water with 50% IPA) can help accelerate drying time and is a great cleaning solvent for windows. Thoroughly cleaning the area is critical and will help you to avoid unattractive mishaps, such as bubbling or messy edges. It will also help ensure the graphic lasts longer because there will be nothing keeping it from sticking to the surface.
Get Fluid Prepared for ‘Wet’ Application Method
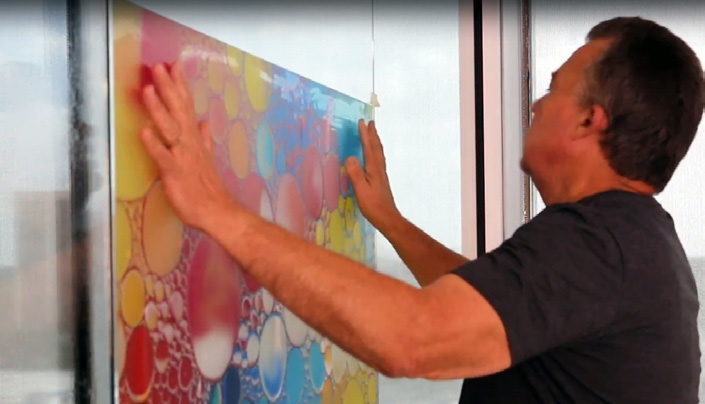
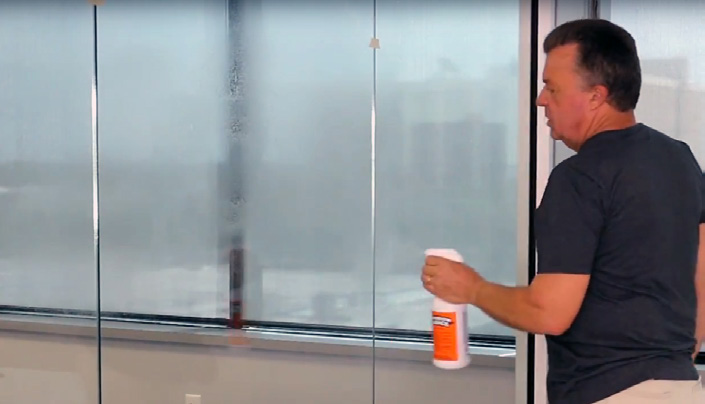
The wet application method is the recommended application method for getting the vinyl window graphics to slide around the surface well. You can make this fluid easily with a couple drops of dish soap mixed with water and poured into a spray bottle. Remove the liner from the graphic and spray the window with a generous amount of the mixture and well as the adhesive side of the graphics and position it where you would like on the window. You should be able to move it around easily to get the positioning you’d like. The graphic may appear hazy after the initial installation which could last up to several days before clearing.

Final Steps
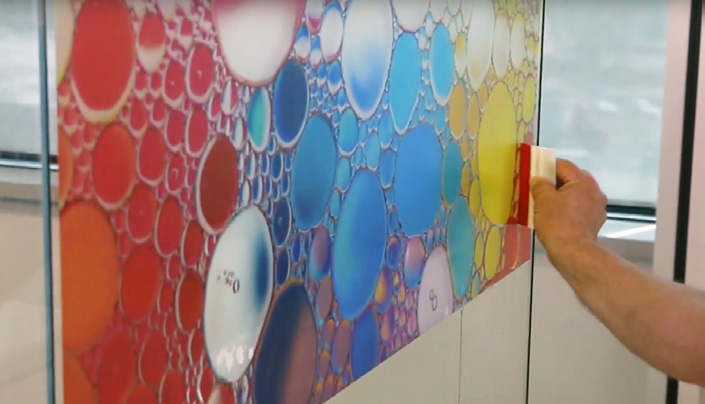
Using a soft squeegee, squeegee from the center of the graphic out towards the edge of the graphic forcing the fluid to escape. You can choose to use application tape to hold the window decal into place. To smooth out remaining liquid and bubbles, use a soft squeegee and work from the center of the graphic out towards the edge. If application tape was applied, wait a minimum of 15 minutes before removing tape, keeping it parallel to the glass. Pull back the application tape at a 180 degree angle to minimize the possibility of lifting the applied graphic. Be sure to double check to make sure that positioning is what you want before the solution begins to dry. You won’t be able to move it around freely if it dries up.

HP’s Recommended Application fluids
- Rapid Tac
- IPA/Water mixture (75% water to 25% IPA)
- Mix a gallon of water with approximately 1 tsp of mild/synthetic detergent that does not contain perfumes, wax, oils, or lotions

HP’s Recommended Installation Steps
- Test the glass surface for wax or other coatings by placing several drops of water on various areas of the glass. If the water forms into beads, then there is a coating on the glass that needs to be removed prior to application. If water does not form into beads, the glass surface is ready to install.
- Apply a generous amount of application fluid using a spray bottle/applicator completely covering the window for which graphic will be applied. Depending on the size of the graphic, it may be helpful to also spray the adhesive side of the print as well.
- Remove the liner from the graphic and position the graphic on the area where the fluid was sprayed.
- Using a soft squeegee, squeegee from the center of the graphic out towards the edge of the graphic forcing the fluid to escape.
- If application tape was applied, wait a minimum of 15 minutes before removing tape, keeping it parallel to the glass. Pull back the application tape at a 180 degree angle to minimize the possibility of lifting the applied graphic.

