Today’s digital wide format printers are offering designers more flexibility than ever before. Low volume print shops and in-house operations are cashing in on the diverse capabilities of the latest Latex and Solvent wide format printers. New specialty media, including inkjet printable canvas allows designers to get creative with applications such as custom wall art, wallcoverings, fine-art, and photographic prints.
Here are a few of our favorite inkjet printable canvas textured substrates:
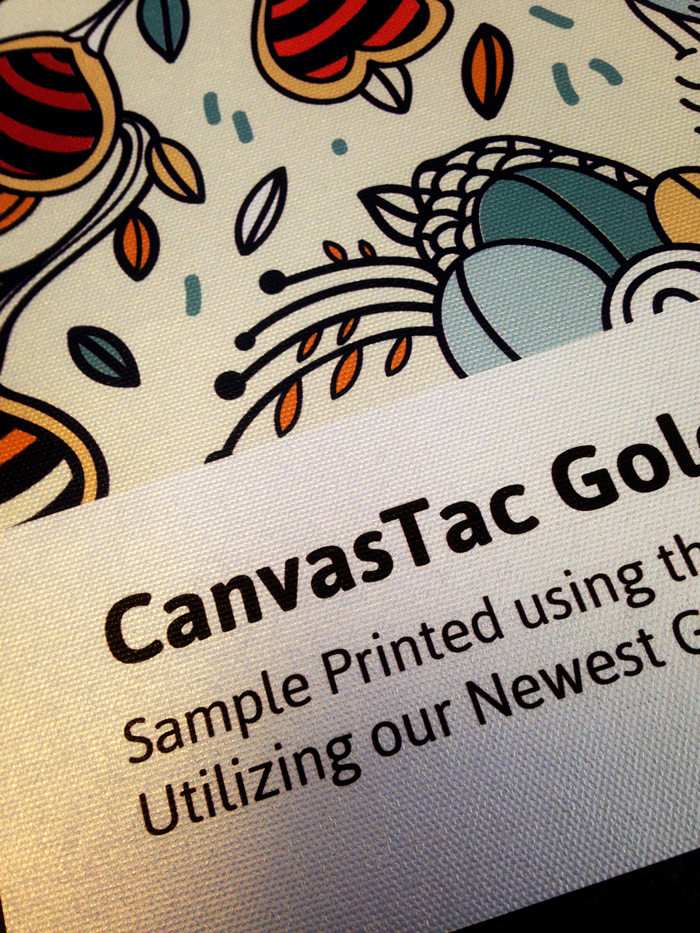
1. CanvasTac Gold & CanvasTac Silver