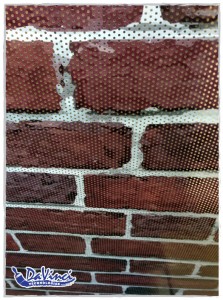
1. Gather the following materials:
- Felt Squeegee
- Paper Towers (For Cleanup)
- Isopropyl Alcohol or Presaturated wipes to prep window
- Masking tape
- Razor blade or x-acto knife
- Tape measure and level
2. Clean the window surface and remove all dust particles – always start with a freshly cleaned window.
3. Position the graphic – When the graphic is aligned to your liking use your masking and apply it to the top of your graphic so creates a hinge. *If you are installing a full window graphic, use your tape measure or ruler to make sure the edges and corners are evenly spread throughout the window.
4. Peel off adhesive backing from a top portion of the graphic (see video). Using a felt squeegee (to avoid scratching the surface of the graphic) press firmly and product a back and forth (left to right) movement, beginning at the top slowly working your way to the bottom.
5. For Wet Application Only – Once complete, make sure all liquid is removed from the area (and behind the graphic). Wipe down the surrounding area with a cloth.
6. For graphics touching the edge of the window seal, trim the excess away.

